
Featured Articles

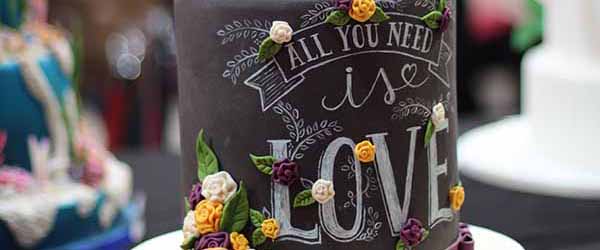
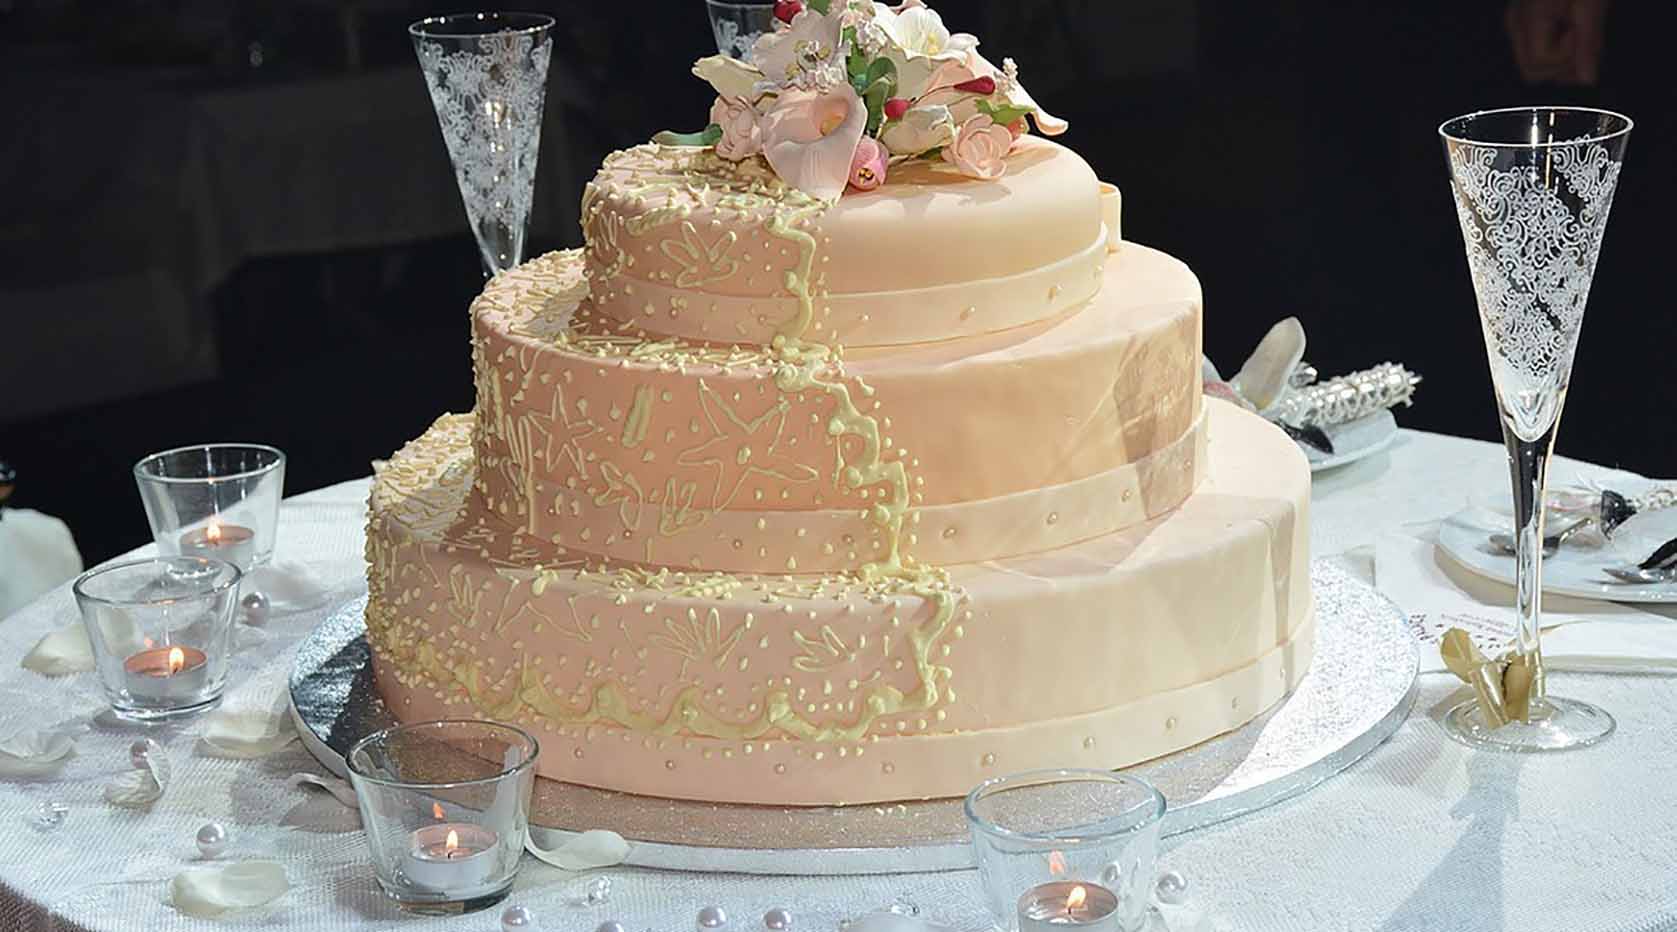
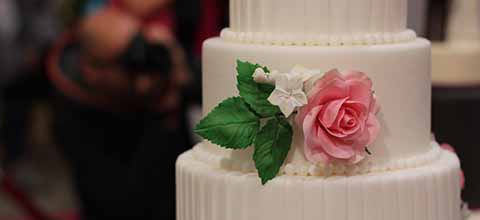
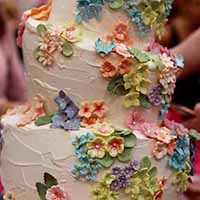
6 Amazing Wedding Cake Ideas To Fall In Love With
Are you uncertain about what to choose for your own wedding cake design? Then take a look at these 6 amazing cake ideas.
Popular Pages

Wedding Favor Sayings
Need ideas on what to say on your wedding favors then read this article.
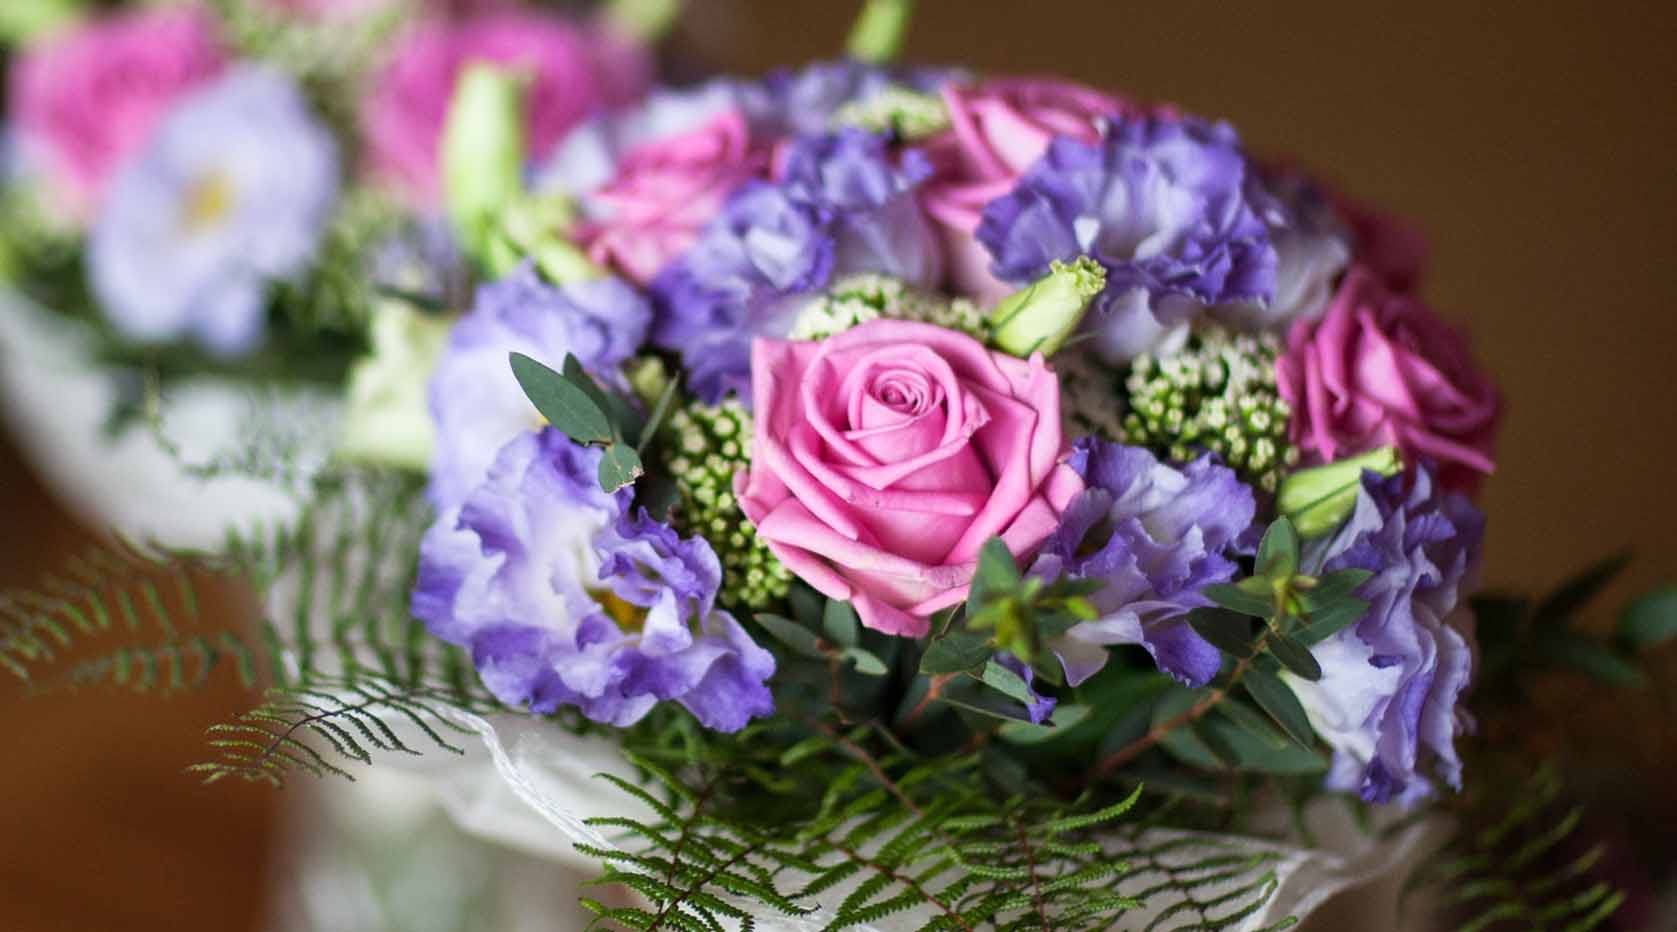
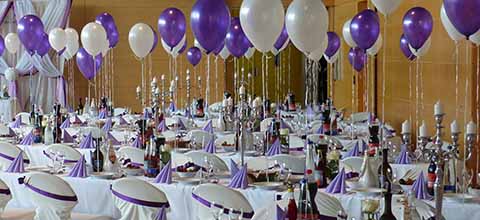
Purple Wedding Flowers Ideas
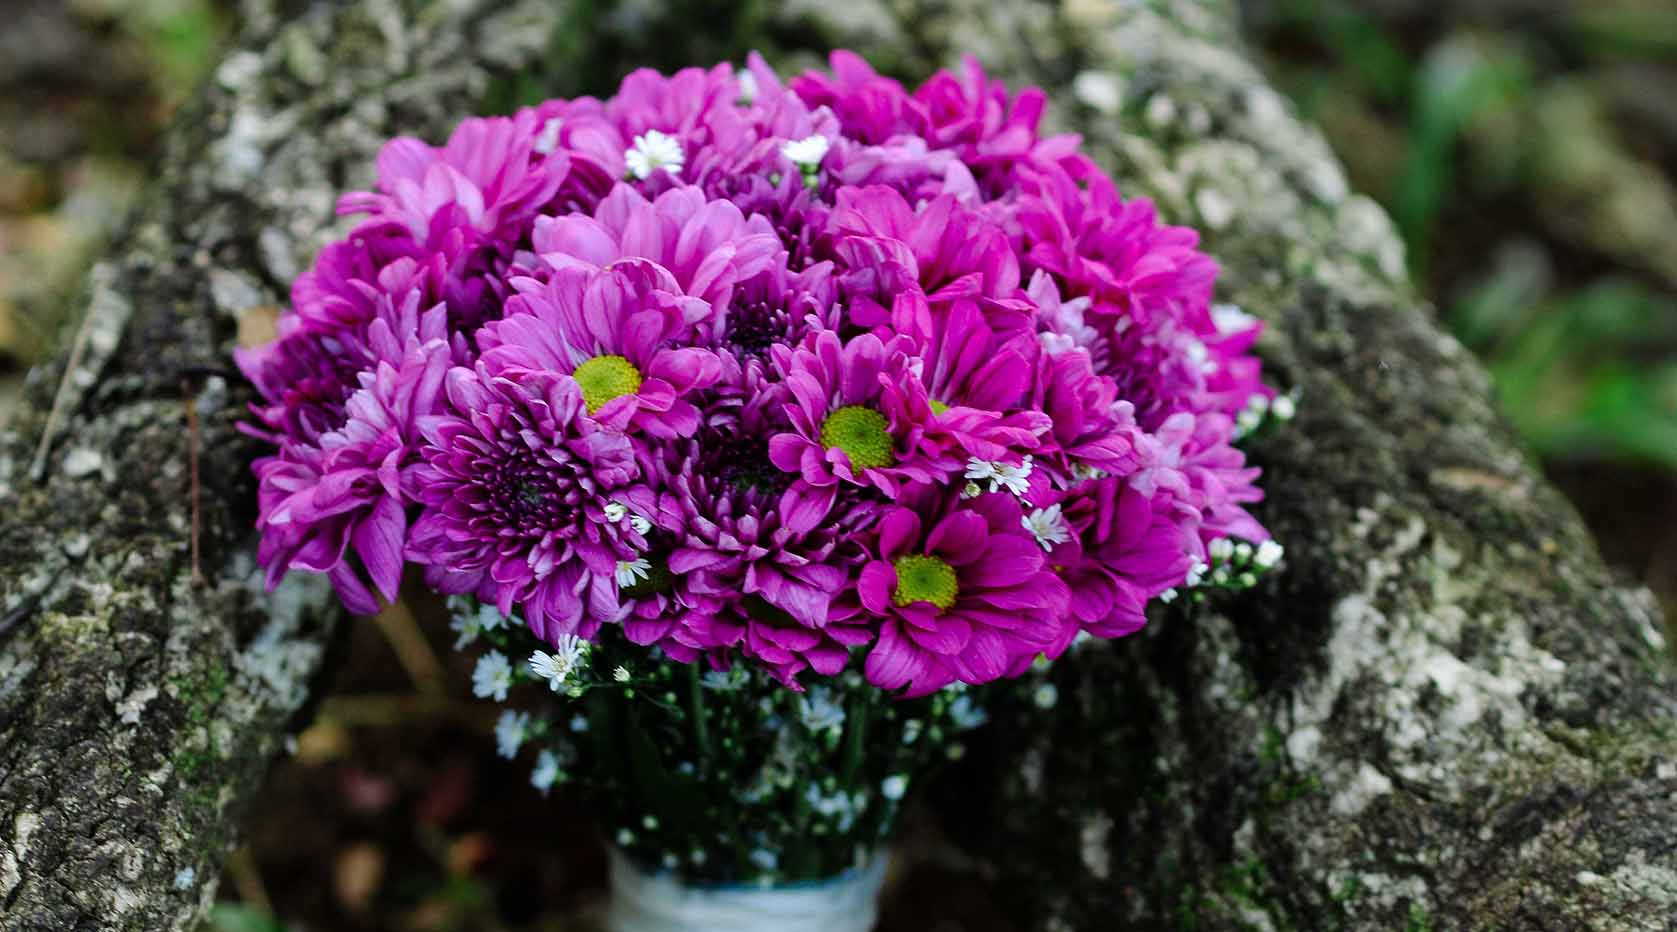
Images and ideas on how you can use purple wedding flowers.
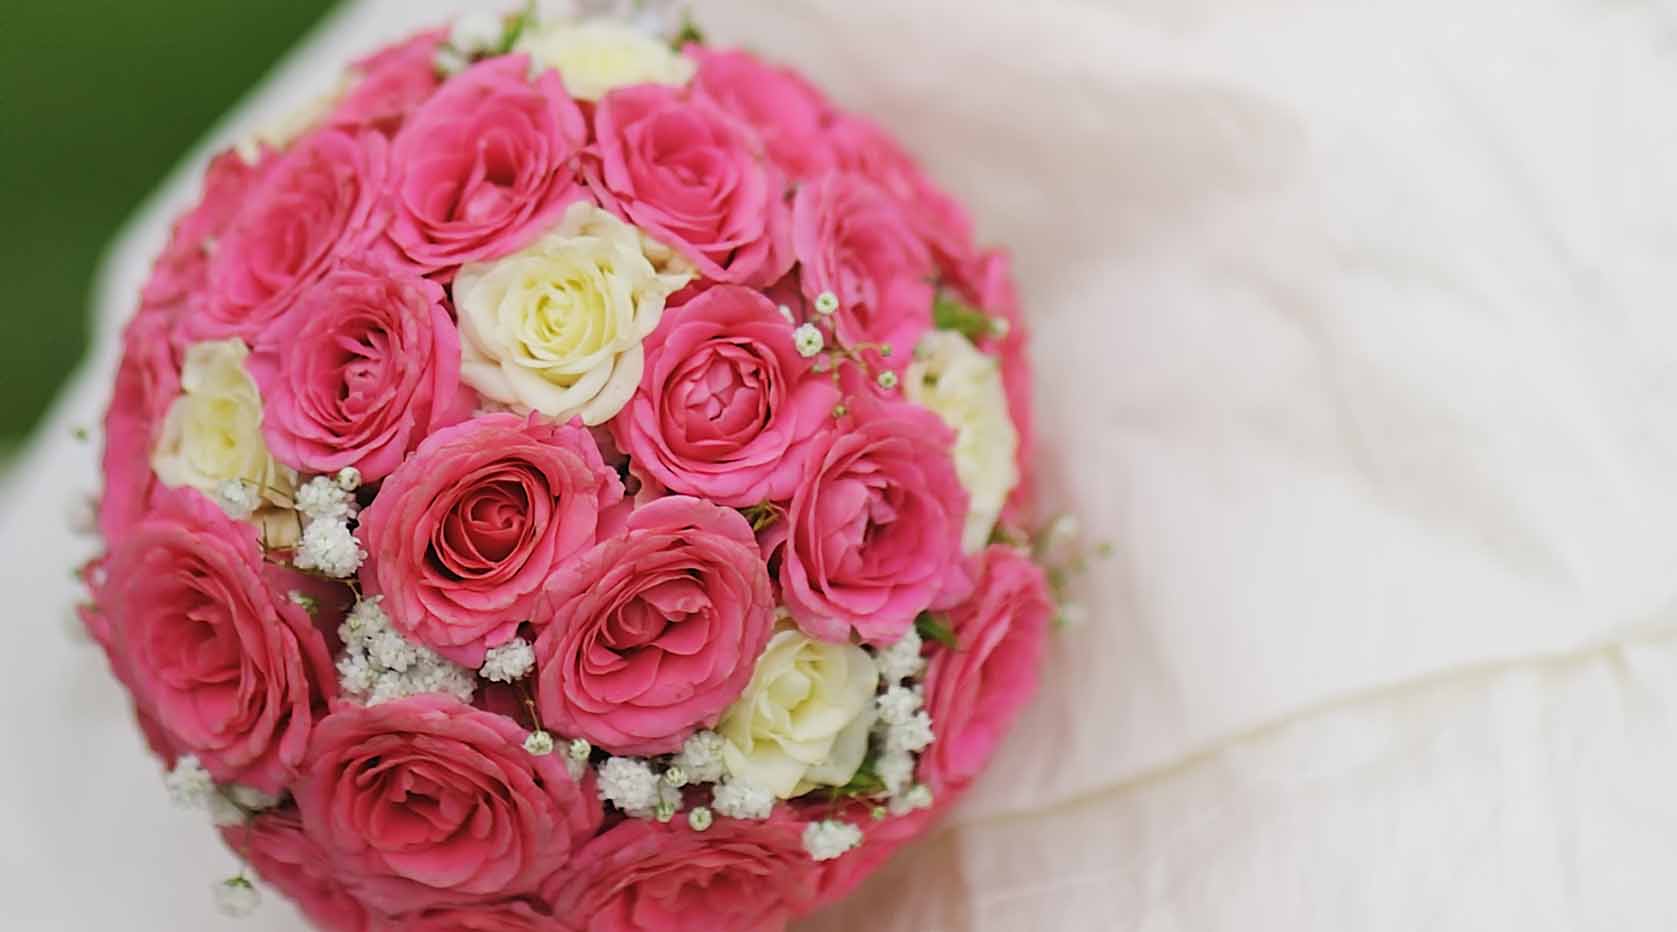
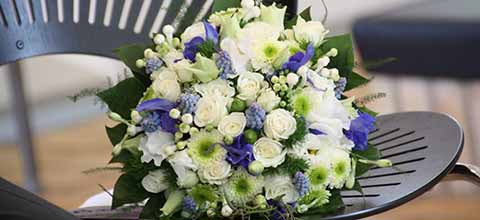
The Language Of Flowers
Put some meaning into your bridal bouquet, by discovering the language of flowers.
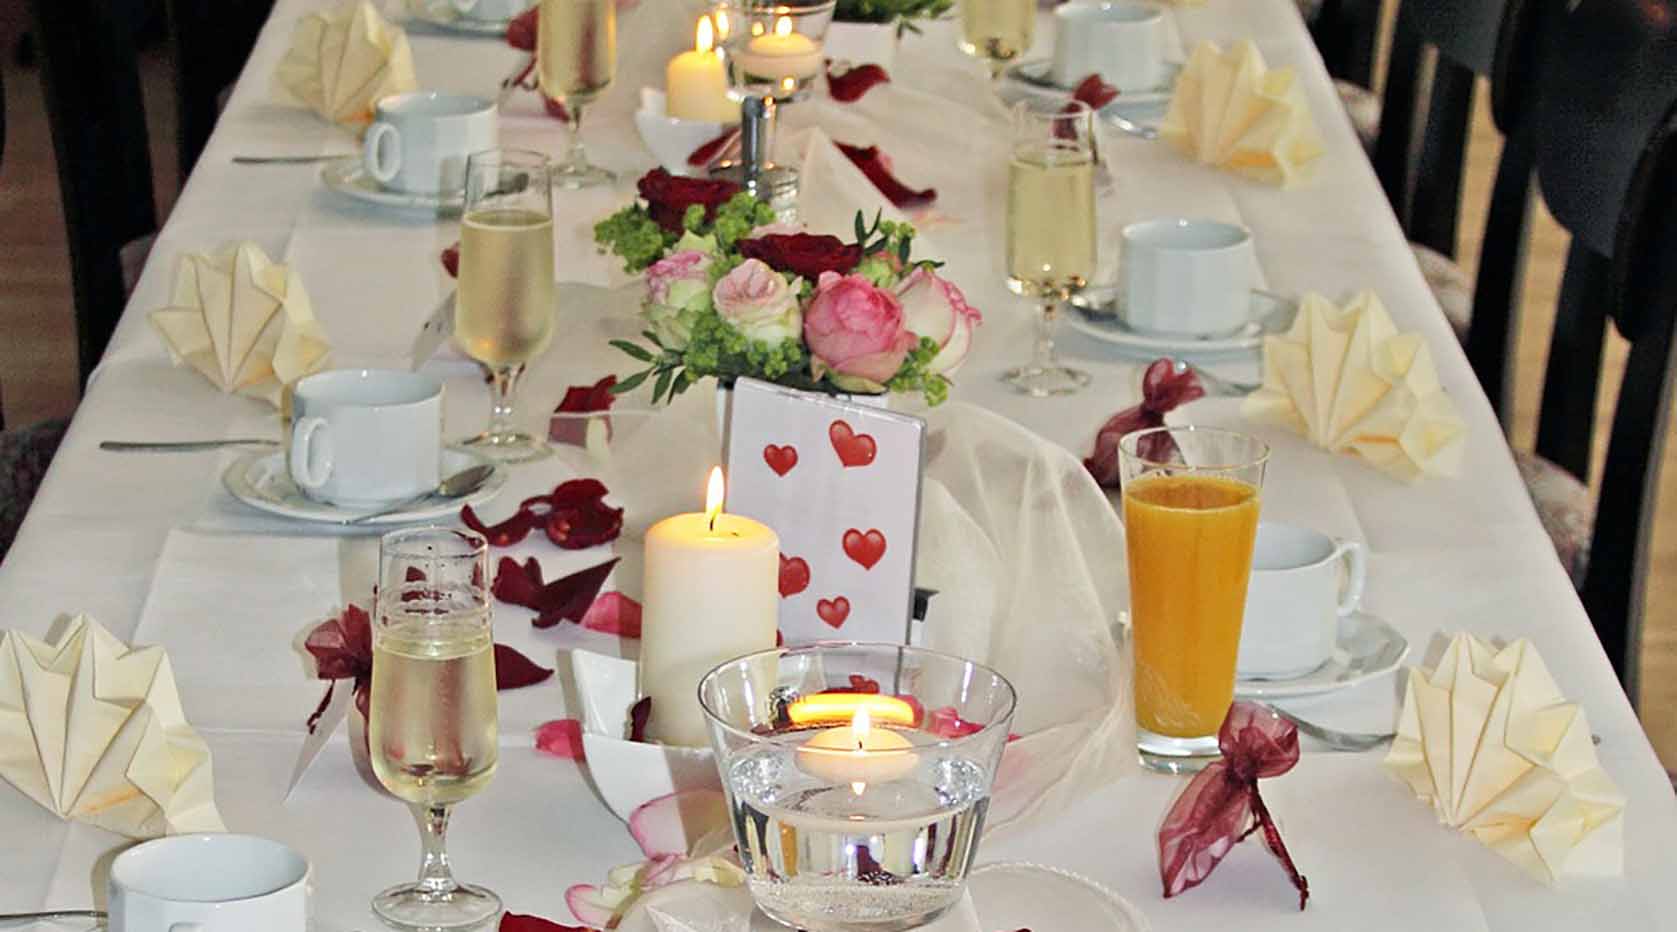
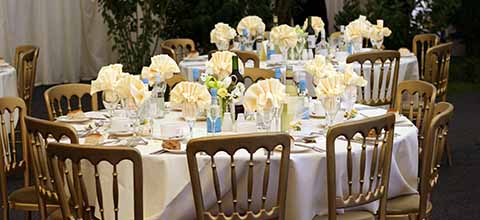
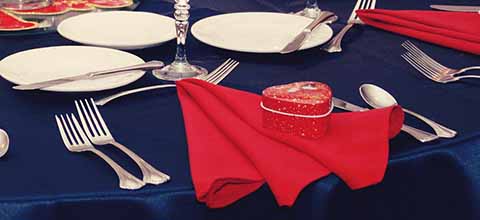
Wedding Cake Table Ideas
Tips and ideas on how you can display your wedding cake at it's best.
Planning Articles

Roles of the Bridal Party Attendants
Do you know traditonal roles of the members of the bridal party? Find out here.
Planning a Bridal Shower
Do you need a guide to help you get started with planning the bridal shower party.

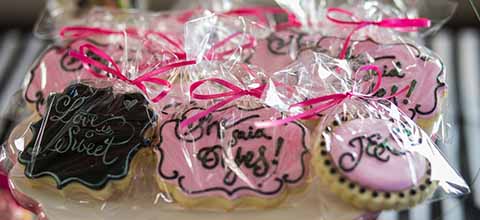
Wedding Favor Ideas
Our wedding favors page has many ideas and articles related to favors.
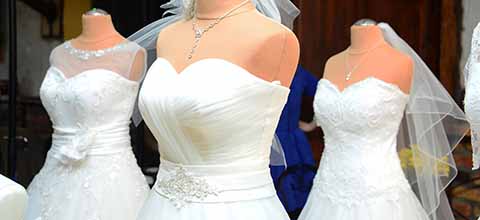

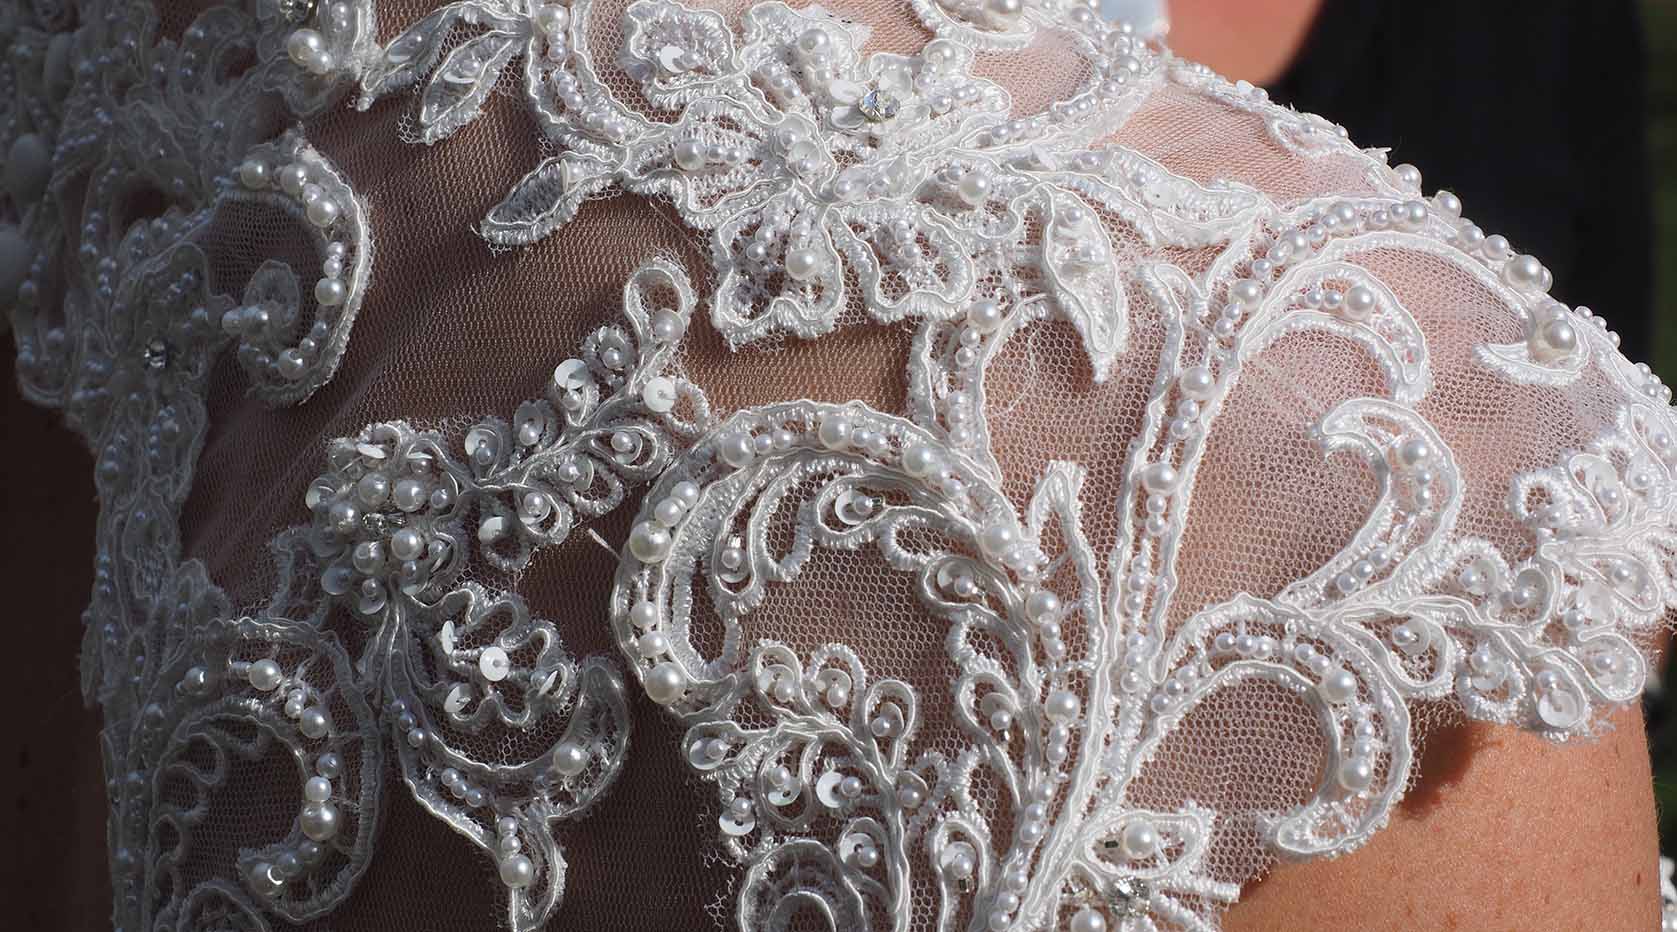
Wedding Veil Ideas
There are many bridal veil styles, lengths and fabrics that you can choose from.
Other Pages We Think You Will Love
Tips and Ideas
Quote of the Week

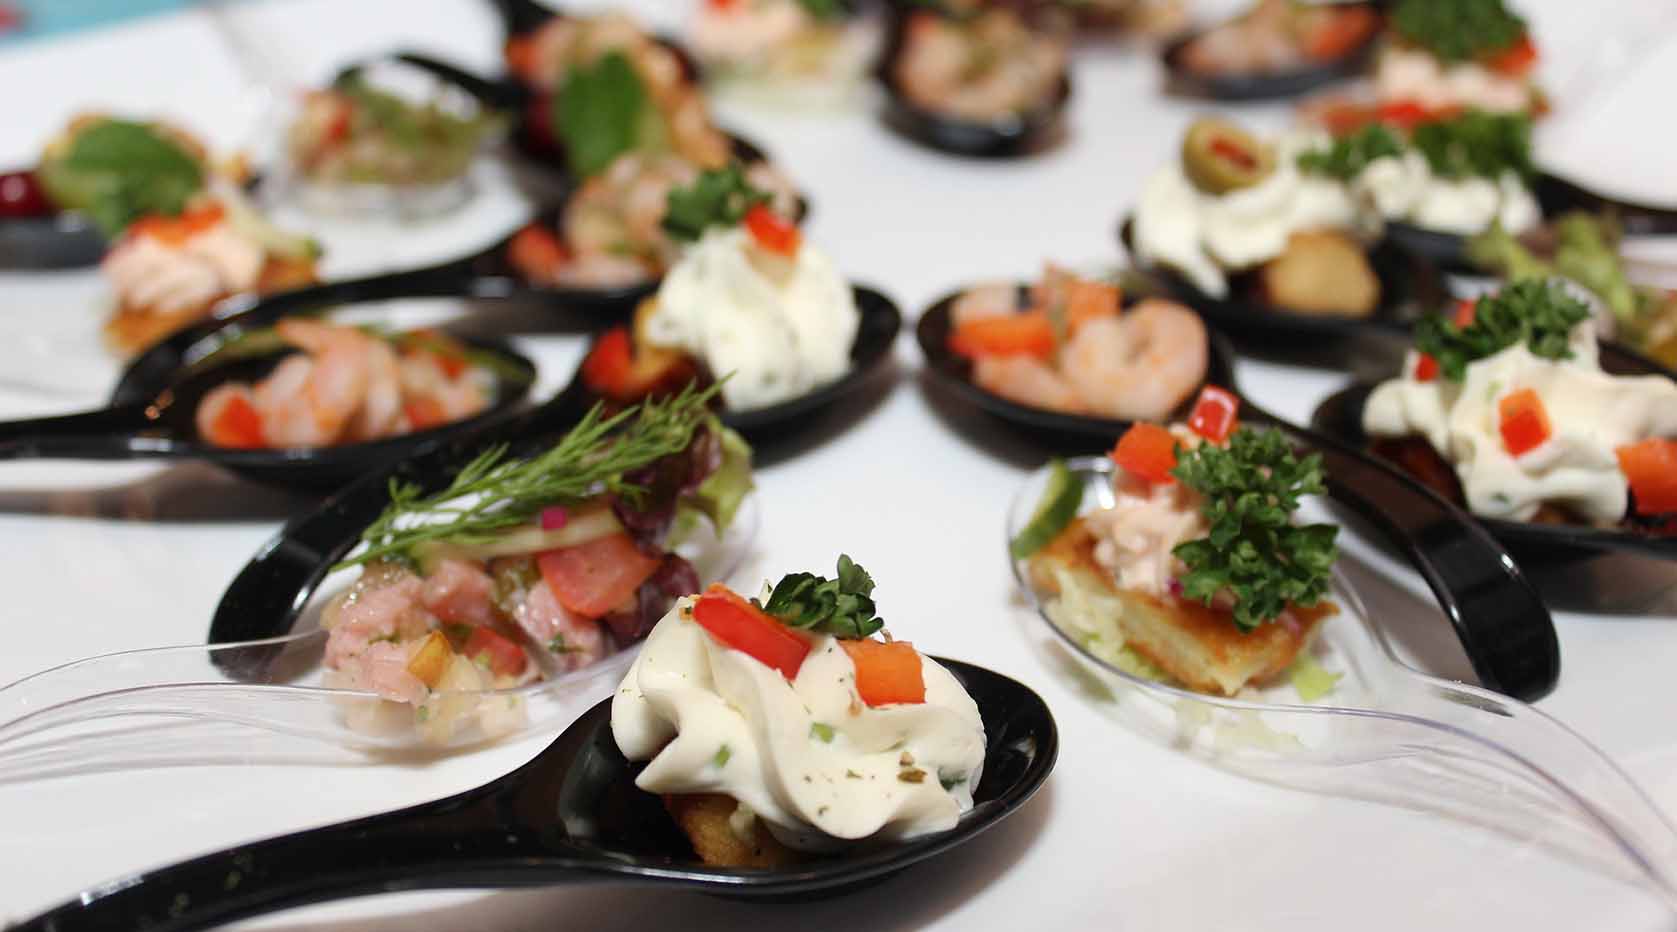
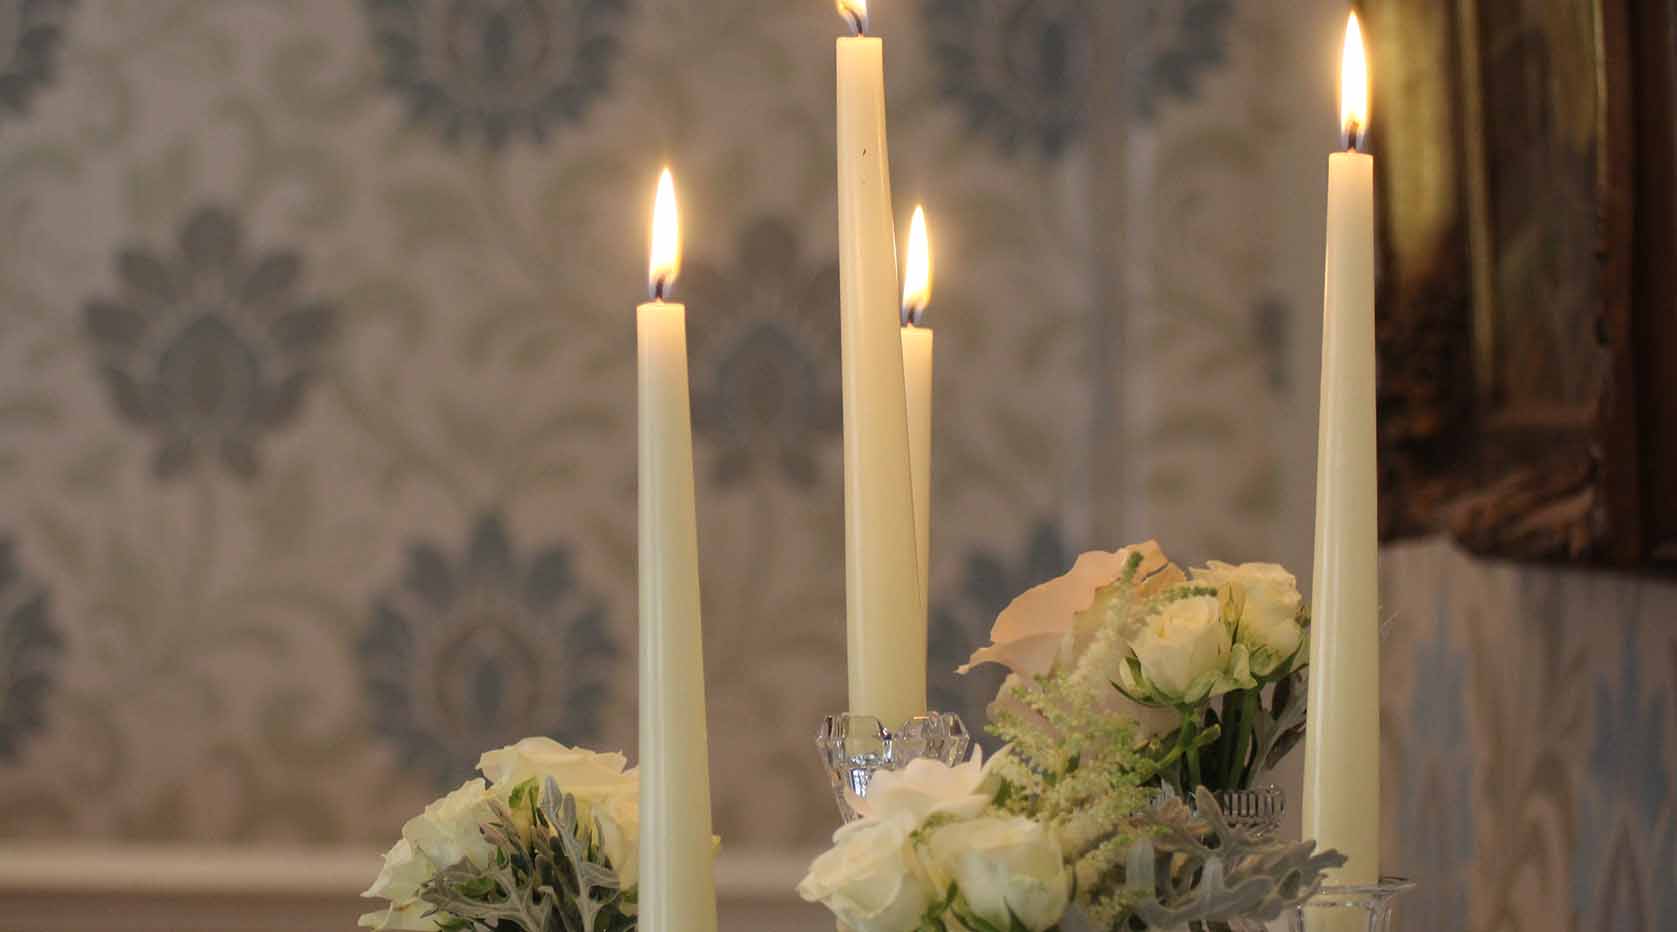
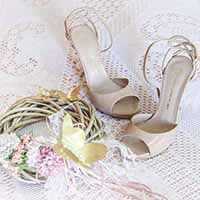
Photo Inspirations

Budget Ideas
Just dumped adult pass which were dumped from secret place. Watch free xxx stream now.
If you are constantly looking and you can never find free porn passwords clap in hand because this is the day. Thanks to our efforts, you will finally get to know a few places where administrators and users publish their private porn passwords for the rest of the world. Yes, this is not a lie. Each guest of this site will be able to take advantage of free passwords to the most popular websites in the sex industry!